
A recent acquisition of Herbert Witherspoon’s book Thirty Six Lessons in Singing for Teacher and Student has been a delight, and is too good NOT to share. There’s a great deal to celebrate in Witherspoon’s writing, having been recommended it through the writings of Edward Foreman.
Witherspoon is against all ‘localized’ control of the singing voice, and his thinking is clear, cogent, and rational. He understands cause and effect (with a few caveats mentioned below). The only issue this blogger would argue with is his confusion of registration with resonance. This misconception has lasted to the present day and is owed to misunderstandings of 1) registration and 2) resonance.
The common parlance of ‘head resonance’ and ‘chest resonance’ ignore the source of the sound which creates the resonance in the first place. What we hear as ‘chest resonance’ is a result of the action of the thyroarytenoid muscles tensing and thickening. Likewise, ‘head resonance’ is the result action of the cricothyroid muscles with the added cooperation of the arytenoid musculature. It’s interesting to note that many modern writers who deny registration in favor of ‘resonance’ tend to be lower voiced baritones and basses. (“I don’t use that in MY singing – so why should you?”)
Witherspoon falls into this category (he was a bass).
I will be sharing (in a 36-part series!) Each one of Witherspoon’s lessons in the “Historical Perspectives” collection.
What I hope you will find is PRACTICAL, USABLE pedagogical thought that can be used in the studio setting with ease right away.
Lesson 1
This lesson deals with three important factors in correct singing.
1. Body position: Stand erect, without straining, shoulders free, never raised, one foot slightly in front of the other, arms hanging loosely at the sides, so that you feel ready for real action. Do not raise the chin, nor lower it unduly.
If you will stand before a mirror you will soon cultivate a fine, easy but active position.
2.Breathing: You cannot breathe well if the body is in a strained, awkward, unbalanced position.
Breathing is important not only because we must have breath with which to sing, but because correct breathing gives better management of the breath and voice, and because inhaling is the only certain means we have of freeing the vocal organs and insuring correct action. Breathing, with correct pronunciation, gives us correct “Vocal Position”.
3. Vowel formation and correct vocal position: The vowel is the tone, the tone is the vowel. We put words in our tones and tone in our words. Speech and singing are the same except that singing demands greater range, wider differences in dynamics, more sustained tone and color.
When the attempt to sing a vowel leaves you in doubt as to the result, pronounce the vowel quietly and carefully in speech. If this does not succeed, whisper the vowel several times, until you have a true concept of its formation.
We do not place the voice, we form the vowel, and therefore the tone. This formation may vary somewhat for different colors and mood values, but never beyond certain limits. For the present you will content yourself with obtaining clear and well-formed vowels and tones, what we might call your normal quality of voice, expressive of pleasure or agreeable elation.
With vowel formation we must consider the shape of the mouth. Avoid the AWE or OH shape at first.
The lips should take the shape of a slight smile, not a grin or grimace. If you inhale with slightly parted lips, through nose and mouth, the mouth will shape itself easily and freely for the vowels AH, A and E. The lips will round slightly for AW and OH and more so for OO (U). All mouths are different, so find your own natural “mouth shape and position.”
These are the three most important things for your consideration in your first lesson.
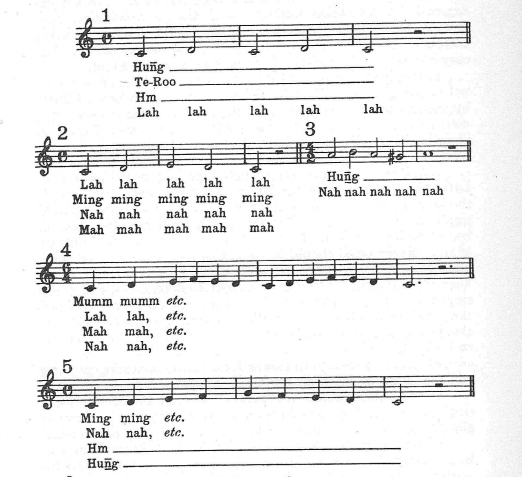
The vowels are sounded as follows:
AH as in father. A as in fate. E as in feet. O as in OH. U (oo) as in too.
We shall spell them like this: AH, A, E, OH, OO
Exercises.

Standing easily erect (be sure not to sway backwards), inhale through nose and mouth, lips parted, while moving arms from sides upward to a level with the shoulders. Exhale without lowering the arms. The front of the body at a line drawn through the hip-bone will draw in during exhaling.
As you in inhale, the jaw will drop slightly at the back, and the whole vocal tract – jaw, tongue, throat, etc. – will feel free.
As you inhale, the upper abdomen will expand, the ribs will rise and widen, the chest will be widened and slightly raised, and finally the upper abdomen will slightly draw in.
In exhaling, the upper abdomen will draw in more and more, the ribs will hold their widened position, until most of the air has been expelled. Then they may sink to their original position. As you become stronger and more proficient the ribs will hold longer to their expanded position.
Do not hold the ribs outwards or rigid. Never localize your attention to any one part of the body in the breathing act. Breathing is a co-ordination of many muscles, and one is as important as the other.
Do not practice many breathing exercises without applying the breath to singing. You will only fatigue yourself. Inhale with the idea of singing a real tone and a real vowel, preferably AH at first, because this is the vowel which we sound naturally after inhaling, without making some radical change in the vocal position.
While inhaling be sure that you do not tighten or push down the muscles under the chin. You may place your forefinger under the chin just under the “Adam’s Apple” or larynx, and you feel instantly if you harden these muscles or push down the finger. By quiet inhaling you can loosen the muscles and after a few trials you will be able to attack the tone without pushing these muscles. This is a very common fault and should be remedied at the beginning of study. it is generally associated with raising the larynx or Adam’s Apple.
Commence with a real idea of the formation of the vowel and tone; do not try for any certain placement or resonance. Do not try to relax. You will only interfere with natural co-ordination.
Exercise 2.

In the same position bring the arms forward and upward like the gesture of appeal, as high as the shoulders, palms up.
You will feel the back expand under the shoulder blades, and the upper abdomen will draw in as before. Inhale always with the lips parted. Correct breathing is noiseless, always. Exhale without lowering the arms. The forced breathing through the nose is very bad and causes throat tension.
Exercise 3.

In the same position, but with the arms up above the head with palms touching, bring arms down to the level of the shoulders, palms down, while inhaling through nose and mouth. Exhale in this position.
Do not practice these breathing exercises more than two or three times each, but follow at once with the first singing exercises.
After a few trials in pronouncing the vowel AH, breathing easily and freely, watching to see that the mouth opens freely and slightly smiling, sing exercises 1 to 5 inclusive.
Do not attempt to sing loudly nor very softly. Use a tone of easy flowing volume, listen to the vowel sound and try to improve it if you hear that it is imperfect.
You may sing AW for AH or A(N) for AH, or perhaps U(N), all faulty. The sound must be perfectly clear but round AH as in father, or like our natural exclamation AH.
Do not wait too long after inhaling. Attack as soon as you have the breath, but never violently. Be content to practice these things in the lesson very carefully, for this will give you a favorable start. It is very helpful to practice before a good sized mirror. A fairly large one placed on the piano will do nicely.
Leave a Reply